Wednesday, February 13, 2013

Saw It. Pinned It. Did It. - Heart Shaped Pie

What better Pinterest inspired Saw It. Pinned It. Did It then a heart shaped pie!! On Valentine's Day no less!?!


I almost went to Le Cordon Blue to become a baker (still a bucket list goal) so I tend to like to bake from scratch whenever possible.  However I know that some people want things to be quicker and easier so I will try to provide alternate versions.


The inspiration :


*This recipe for the pie crust is from an old magazine with pull out recipe cards so not sure which one it was in. Here is the recipe card.


recipeIngredients:


pie-1


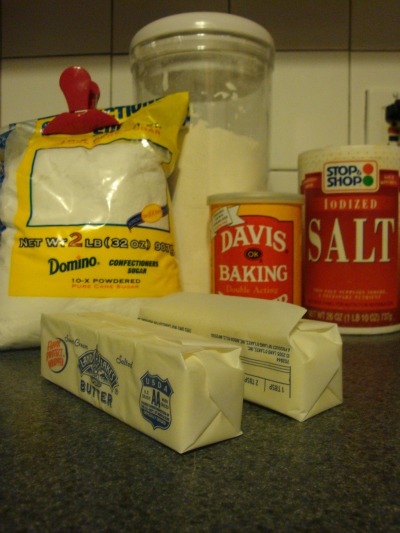
3 cups flour * 1/2 cup powdered sugar * 1 Tsp baking powder * 1/4 Tsp salt * 1 cup (2 sticks) butter cut into small pieces * 6-8 Tbsp ice water


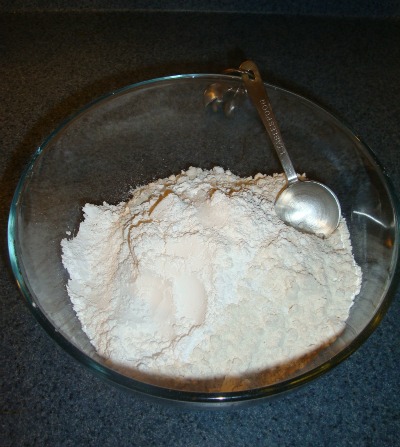
1. Mix flour, sugar, baking powder and salt in a large bowl.

pie-2


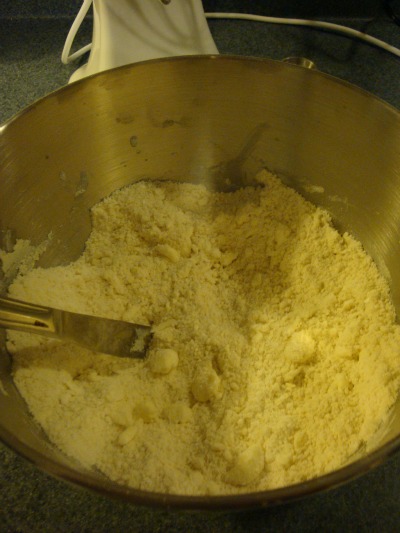
Cut in butter with blender, pastry blender or two knives until coarse crumbles form.

pie-3


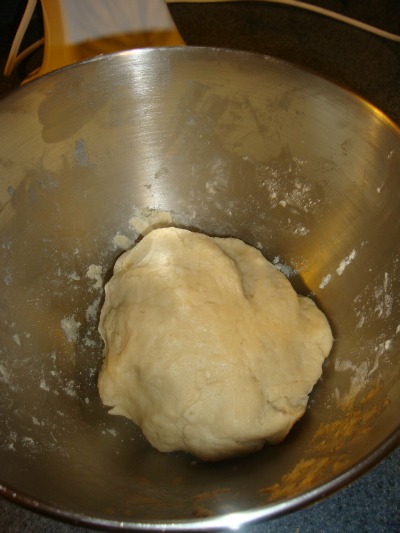
Add water 1 TBSP at a time toss with fork until mixture holds together.

 pie-4


Divide dough in half ; cover and chill for 30 minutes or until firm.
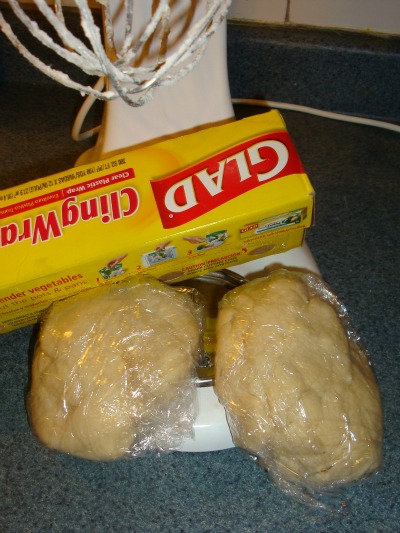

pie-5


EXPRESS VERSION : Go to the frozen food section, and buy frozen pie crust.


For the pie filling I used the recipe found here.


2 pounds sour cherries, pitted * 1 1/8 cups white sugar * 3 1/2 tablespoons cornstarch * 1 tablespoon butter * 1/4 teaspoon almond extract


Pit and de-stem the cherries.
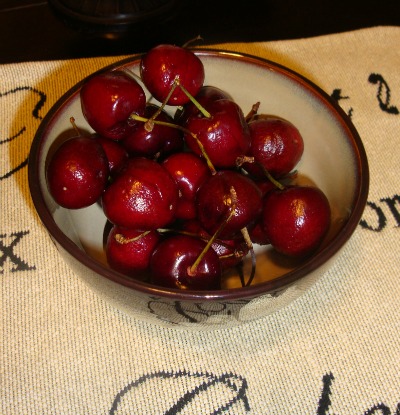

pie-6


In a saucepan, combine cherries, sugar and cornstarch.
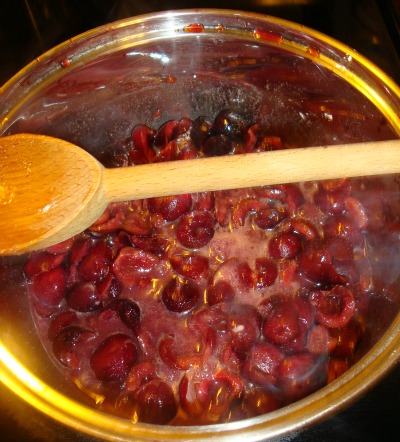

pie-7


Let sit for about 10 minutes. Bring to a boil over medium heat, stirring constantly. Lower the heat and simmer for 5 minutes or until the juices thicken and become translucent. Remove from heat and stir in the butter and almond extract.


EXPRESS VERSION: Pull out pie filling from cabinet.
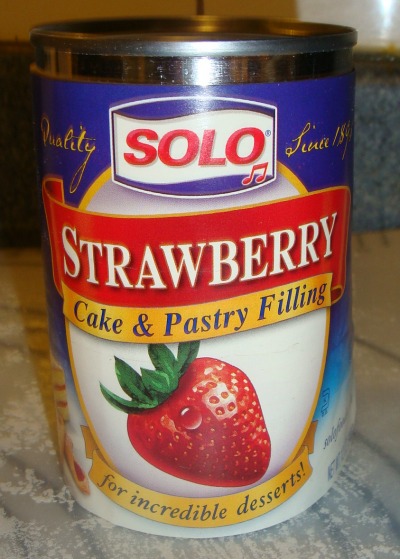

pie-14


Pull out your pie crust from the fridge. Roll the dough out on a lightly floured surface to 1/8 inch thickness.
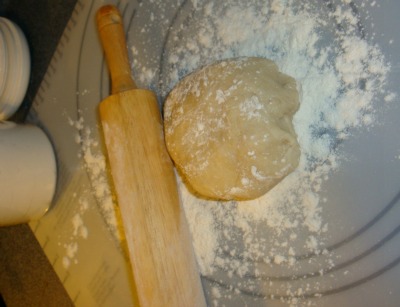

pie-8


Cut with your heart shaped cookie cutter.


pie-9


 Re-roll and cut out more heart shapes. Place on a greased cookie sheet. Beat one egg and 1 Tbsp water in a cup. Moisten edge of dough with egg mixture. pie-10
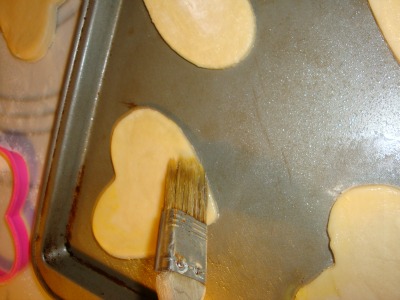

 Place about 1/2 Tbsp of cherry pie filling in the center of each heart.
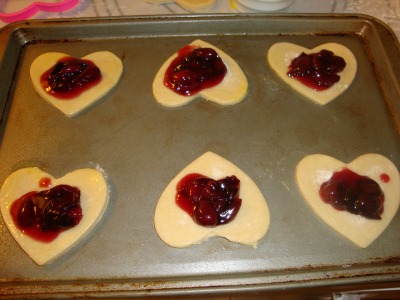

pie-11


 Place another crust on top. Press edges together with a fork to seal in filling. (A little might smoosh out, that's okay)
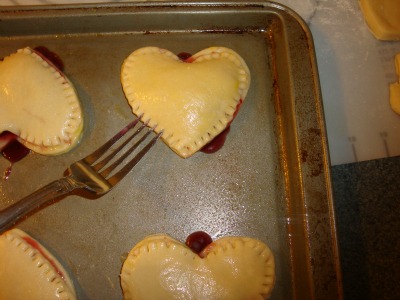

pie-12


Brush the top with more egg mixture. Cut a few slashes in top to vent.
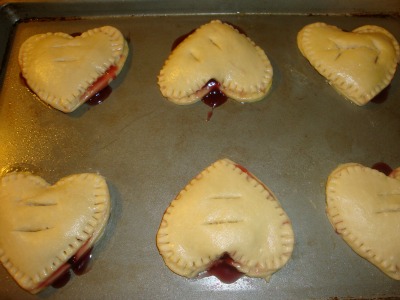

pie-13 Bake 20-23 minutes at 375 degrees or until golden brown. Remove from oven and cool completely.


pie-15


OPTIONAL: Using a pastry brush wet the top of the pastry with water and add sprinkles.
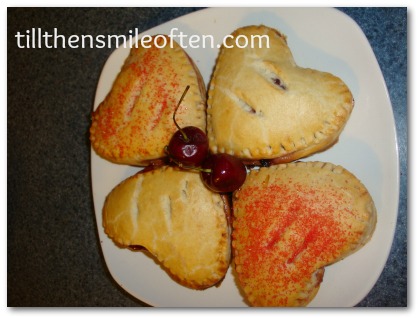

 pie-16


So for those of you who didn't want to do the from scratch version let me recap the express version - Let pie crust come to room temp, roll out, cut with cookie cutter, egg wash, fill with canned pie filling of your choice, fork to close, egg wash, cut slits, bake. Done! ;)


What do you think, worth a shot? Happy Valentine's Day to everyone.  If you are single, remember Valentine's if for showing ALL the people you love how you care. Spread the love!


Don’t forget to check out the two co-hosts of this linking party, Steph and Katie. Join the linkup with your Pinterest projects and take a look at all the other projects completed!


Labels: , , ,

Oh, how Pinteresting

It’s time for Oh, How Pinteresting!! Looking forward to the end of this week, as I have a four-day weekend!! Yeah, baby!!


Head on over to The Vintage Apple and linkup! Feel free to add me on Pinterest to share our other wonderful things!


**********************************************************************


 Absolutely stunning.


 Orange Julius tasting drink. I'm in.


 I have two adorable nieces that would look great in this dress.


 I have been in love with anchors recently.


 My puppy LOVES peanut butter!!


 **************************************************************


  Look forward to seeing what everyone else is pinning.


Don’t forget to come on by tomorrow for another addition of Saw It. Pinned It. Did It! I have some yummy treats to share.


Labels: , , ,

Wednesday, February 6, 2013

Saw It. Pinned It. Did It. - Valentine's Display

It is Thursday! Woohoo! Which means it is almost Friday and time for another Saw It. Pinned It. Did It. I absolutely LOVE this linkup. I actually get to complete some of my pins and not just look at how pretty they look. :)


For some reason I keep picking inspiration from Pinterest without instructions so I have to wing it. This week is no exception! My hands went a little numb from cutting all the circles so if I missed anything or you need clarification feel free to email me at tillthensmileoften@gmail.com. Hope you like this project because I LOVED it!!


My inspiration:


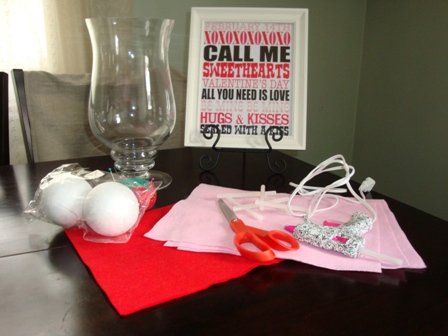
What you will need:


Picture frame - I used an 8x10 frame


Printable - free (download directly here)


Picture frame stand (Cookbook stand same diff)


Hurricane/Apothecary type jar


Felt in Pink and Red (I used 3 sheets of each color - 8x10 in size)


Scissors


Glue Gun


Glue Sticks


Sewing Pins - flat head


2 Small Styrofoam balls


Pinterest


The first step is to print out the free Valentine text and place in the picture frame. Place in the plate stand. That is the easy part.


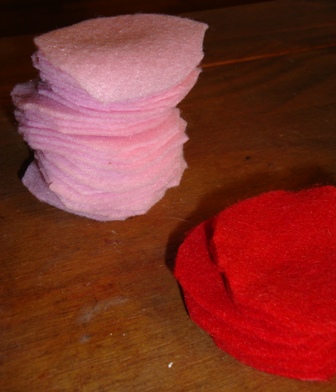
Next begin cutting out your felt circles. I used a circle candle holder as a template and then used the cut circle as a guide cutting out the rest. I ended up using about 60 circles. The circles were about 2-3" in diameter. *On a side note my fingers started to go numb so I cut one color and then rested for a few hours before cutting the other color out.


Pinterest-1


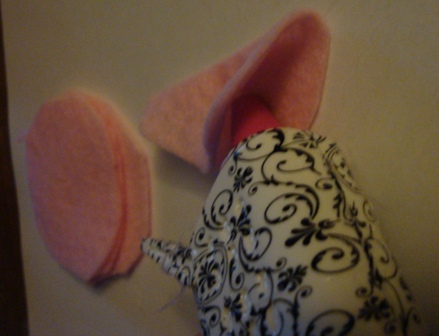
Take one felt circle and fold in half. Place a dab of glue in the center and press flat in half.


Pinterest-2


Fold that in half again, glue in the center and press flat.


Pinterest-3


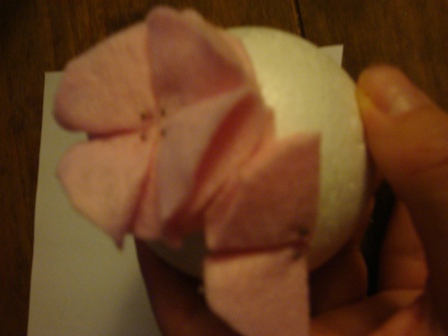
It should now look like a triangle. Pin the corner point to the styrofoam ball using the flat head sewing pin.


 Pinterest-4


Repeat and place next to the first working in a circle.


Pinterest-5 Pinterest-6


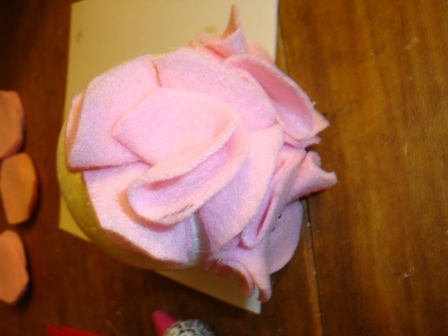
Keep working until the ball is completely covered, then place another folded circle and hot glue onto each circle covering the pins.  Fill in any gaps as needed.


Pinterest-7


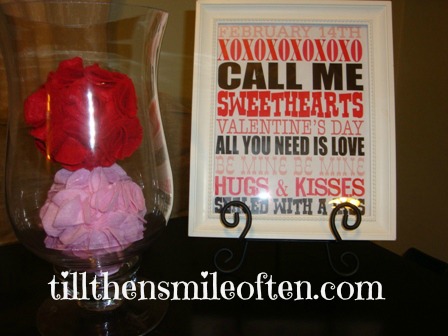
Repeat with the other color and ball. Place in the hurricane glass, display and you are done!!


Pinterest-8


Don’t forget to check out the two co-hosts of this linking party, Steph and Katie. Join the linkup with your Pinterest projects and take a look at all the other projects completed!


Labels: , , , ,

Tuesday, February 5, 2013

Oh, How Pinteresting!

It's time for Oh, How Pinteresting!! We are half way through the week!! Woohoo!!


Head on over to The Vintage Apple and linkup! Feel free to add me on Pinterest to share our other wonderful things!


I have always dreamed of having a wrap around porch on the top level of a house, also known as a Widow's walk. This is the perfect alternative especially for the Northeast's crazy weather.  Gorgeous!!


 This looks so yummy! Will have to try this very soon!


 My niece loves all things Zebra, would be cute to do.


Source: shopbop.com via Kerry on Pinterest


Love these colors together. Oh, Spring where are you?!


 Yes, Please!


Source: via Kerry on Pinterest


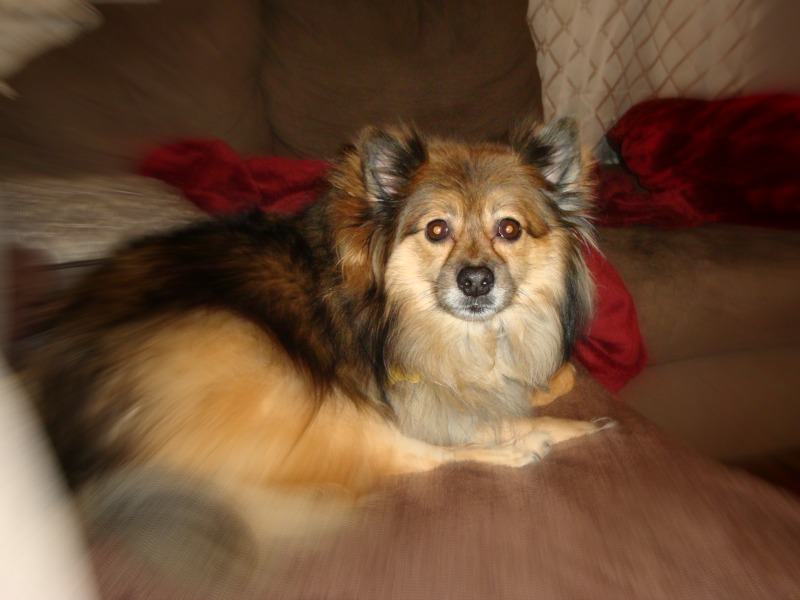
 Have been getting lots of snuggle time with my puppy this past few weeks.


dog-7


Look forward to seeing what everyone else is pinning. Here's to hoping the rest of the week goes quick!
Don't forget to come on by tomorrow for another addition of Saw It. Pinned It. Did It! I will be creating some really cute Valentine's decorations.

Labels: , , ,

Wednesday, January 30, 2013

Saw It. Pinned It. Did It. - Buy 1 Get 1 Free

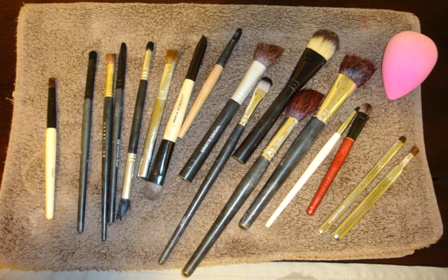
So I have a two fer for you this week. First up is a makeup brush cleaner. Saying this was long overdue is an understatement. I tend to forget how important it is to clean your brushes. It prevents breakouts and bacteria so it really is a must do.


 The inspiration:


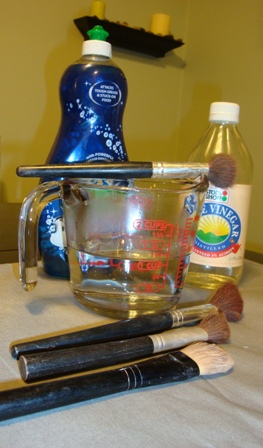
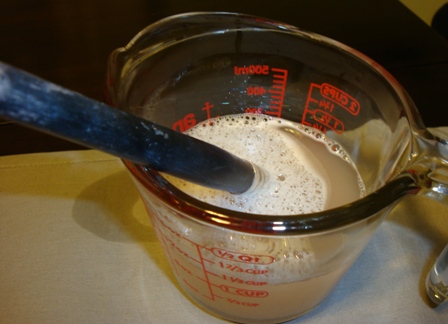
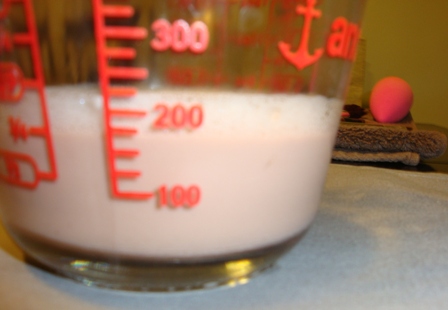
 In one mug mix 1 cup of warm water with 1 TBSP of Vinegar and 1 TBSP of Dish soap, fill another mug with cold water.  Rinse your makeup brush in the soapy water for about 10 seconds, rinse in the cold water then lay on towel to dry.  Voila you are done!


makeup


makeup-2
 
 
makeup-3Eeeww just a little dirty!!
 
makeup-4


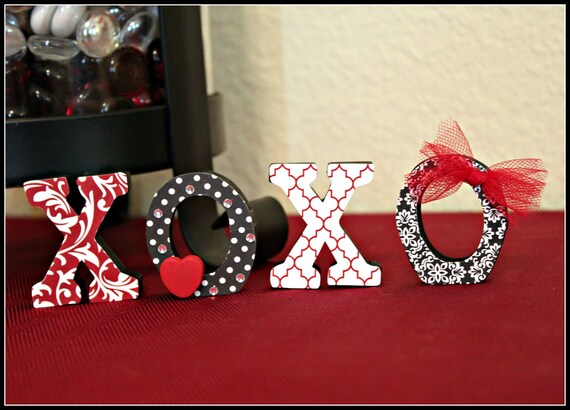
Now for a little V-Day decoration. My inspiration:


Since this pin was just to an Etsy shop I had to wing it. What you will need:


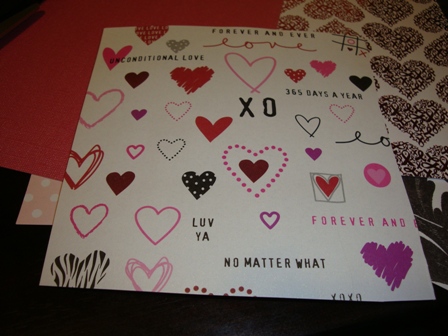
love 4 different colored scrapbooking paper


Mod Podge, glue, or spray adhesive


Scissors


Wooden letters (XO - Qty 2 each)


Optional - Felt hearts, tulle, flowers etc.


Instructions:


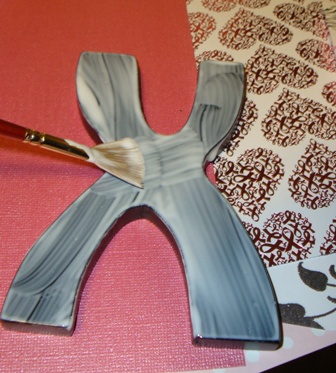
Cut Paper to size just a little larger than the letter. Paint front with Mod Podge and place the paper on top. Repeat for all letters and allow to dry.


love-1 love-2


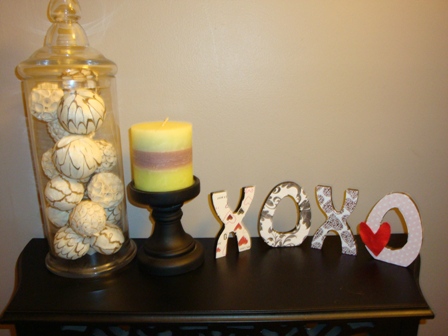
Once dry (around 30 minutes) cut around the letters with an Exacto knife to cut off excess paper. Add any optional felt hearts, ribbon or tulle embellishments and you are done!


love-4


love-3 


What do you think, worth doing it? I think I kinda like it.


Don’t forget to check out the two co-hosts of this linking party, Steph and Katie. Join the linkup with your Pinterest projects and take a look at all the other projects completed!


Labels: , , , ,